The great outdoors – is there anything more relaxing than spending a night beneath the stars? While many people rely on a trusted tent or even an RV to make themselves comfortable in the wilderness, a growing number of people are returning to the most basic (and often overlooked) form of camping: tarp camping.
This article should cover anything you need to know about tarp camping, but I fully intend to add to it as I learn more. So please feel free to drop comments at the bottom or contact me if you have a top tip to share!
Tarp vs Tent – Why The Debate Will Go On Forever

Tarps are a hugely versatile shelter and are particularly attractive if you are looking to travel light. While they don’t come without their challenges, once you get hooked, you really get hooked! But the debate between tarps and tents is something you’ll see over and over again in the forums. And it will continue to rage without resolution because…well…people have opinions!
Without wanting to get sucked into that debate, here’s a brief summary of the pros and cons of tents vs tarps.
Tarp vs Tent: Pros & Cons of Tarps
|
Pros |
Cons |
|---|---|
|
Low cost |
Easier for bugs to get at you |
|
Portable |
Takes some skill to assemble |
|
Can be constructed closer to the campfire |
Challenging to use in inclement weather |
|
Easy to adjust or move |
Difficult to use in treeless areas |
|
Lightweight |
Not quite as warm |
|
Allows you to be closer to nature | |
|
Minimalist set-up (if that’s your thing) | |
|
Easier to set up in areas where you might struggle to pitch a tent (eg/. forest) |
Tarp vs Tent: Pros and Cons of Tents
|
Pros |
Cons |
|---|---|
|
Four-sided so there is no exposure to the elements |
Takes away some of your closeness to nature (a minor pro for some people!) |
|
More protection against bugs |
Heavier and bulkier |
|
Potentially warmer |
Expensive (although these days you can find some very high quality cheap tents) |
|
Arguably more fun in terrible weather | |
|
Easier to pitch in treeless areas | |
|
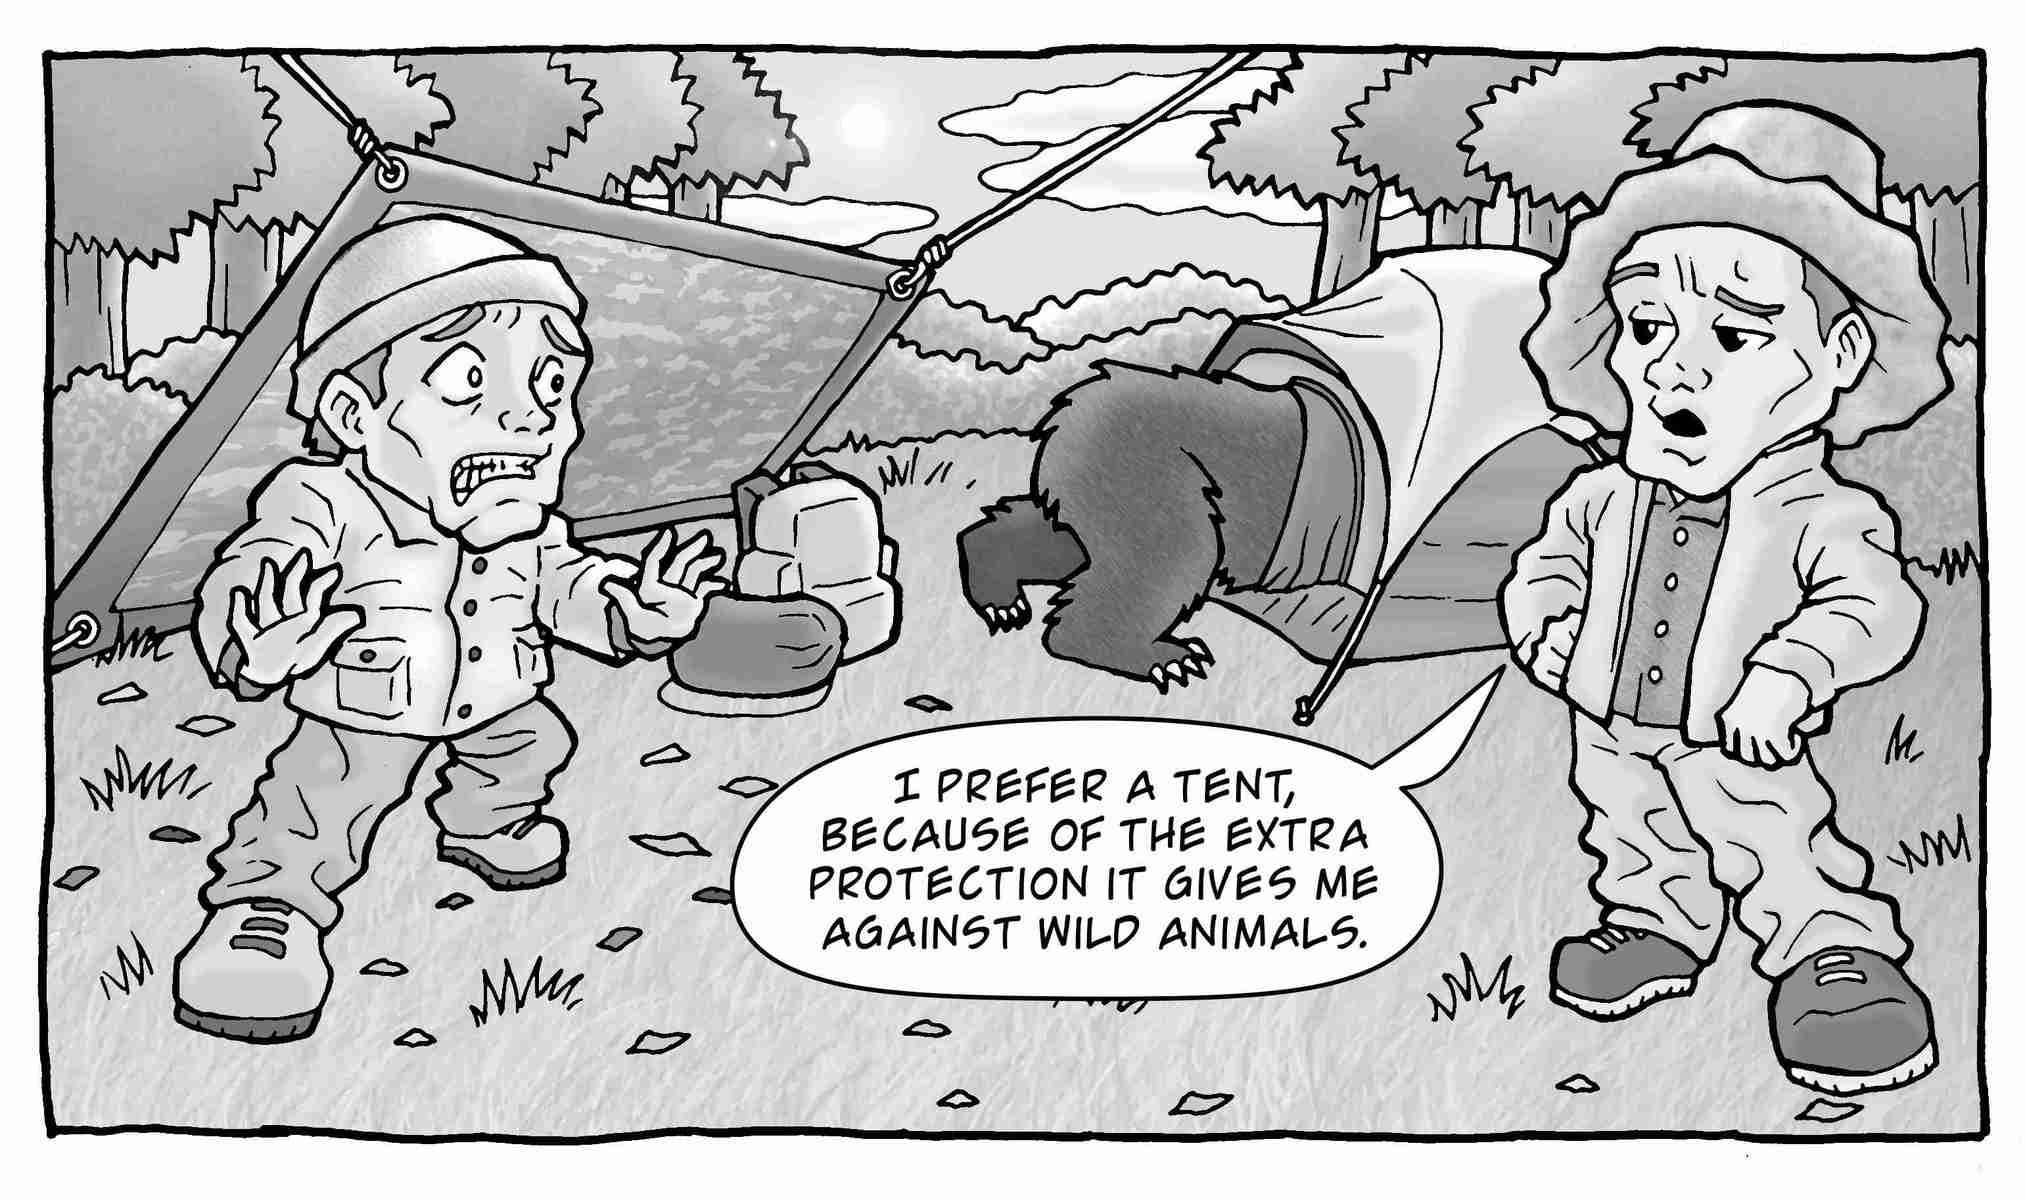
Some people feel safer in an enclosed space |
How Much Does a Tarp Cost?
Most first-timer tarp campers will probably buy a tarp off the shelf. But a lot of people are increasingly turning to making their own; either because they want to save a few bucks or because they just enjoy making stuff!
For a DIY tarp, you can probably get away with an investment of less than $30 depending on the material you want to use. For more information, check out my article on how to make your own DIY tarp canopy.
If you are looking to buy a camping tarp, it’s going to cost you in the region of $50-$100. Again, this depends on what you want. The thicker, bulkier and less technical the material, the cheaper it will be. And visa versa.
Make Your Own Tarp vs Buy A Tarp
A lightweight tarp system is often cheaper than a double-walled tent, but it can still cost a good amount of money compared to a DIY setup. There are several tarps on the market to be aware of. (You can read reviews of my hand-selected camping tarps here and hammock tarps here). While fully assembled tarp tents offer more protection against the elements, as well as stylistic features, they come at a higher overall cost (think a minimum of fifty dollars) compared to a DIY tarp canopy.
Tarp Camping Preparation
So you’re convinced and raring to go! Great! But it’s really worthwhile taking a step back to do some thinking and planning. This section looks at doing a couple of dry runs; practising your tarp knots and discussing what makes a great pitch, as well as how to pitch a tarp.
Before heading out on your first tarp camping excursion, consider conducting at least one or two dry runs in your backyard. Setting up a tarp shelter requires you to be skilled in at least a couple different kinds of knots, which you will need to practice in advance.
3 Tarp Knots You Must Be Able to Tie
If you can’t secure your tarp, your camping experience is going to be miserable. Trust me! I’ve been there! You can learn to do these knots on your early trips, but that really just means spending endless hours in the darkness working things through by trial and error.
Be prepared!
Far better, in my opinion, to spend a few hours in the comfort of your own surrounds, learning these three tarp knots before heading out to the backcountry.
Tarp Knot 1 – The Evenk Hitch
The Evenk Hitch was taught to Ray Mears in the 1990s by the ‘Evenks’, one of the indigenous peoples of Siberia. It’s used to anchor one end of your ridgeline (the main ‘beam’ of your tarp). It’s a useful knot for two reasons. Firstly, it’s not at all fiddly, meaning that you can tie it wearing gloves, making it a perfect cold weather knot. Also, you can tie it at a comfortable height and slip it up the tree to the correct height for your shelter. Check out how to tie the Evenk Hitch here.
Tarp Knot 2 – The Taut Tarp Hitch
The Taut Tarp Hitch looks at the other end of your ridgeline and is absolutely critical for ensuring it is as tight as tight can be; like tightrope tight. The primary principal is that it allows you to get the right tension, then use the paracord to lock the tension into place while you work on your knot. Step-by-step instructions can be found here at Howl Bushcraft.
Tarp Knot 3 – The Adjustable Guyline Hitch
Having creating a tight rideline, the success or failure of your tarp shelter now rests on the tension you can create in your guylines. If you can’t strum your guys like a guitar, you could be in for very flappy tarp time. The beauty of this knot is that you get the tension into the rope after you’ve tied it. That means once you’ve got all your guys out, you can make simple tweaks all around your pitch without having to untie and re-tie all your knots or re-positioning your stakes. Here’s how to tie it.
Want to learn how to pitch a tarp? Check out this article on tarp shelter configurations…
An Essential Gear List for Tarp Camping
- Tarp poles
- Tarp stakes
- Paracord
- Sleeping bag
- Bivy
- Groundsheet
Tarp Poles: Do You Need Them? Which Ones To Buy?
You don’t necessarily have to have tarp poles for a successful tarp camping trip. However, they make your trip a lot easier and add a great deal of versatility. Invest in telescopic tarp poles, ideally those that are light as possible so that you they are easier to carry. Make sure you pay attention to how many eyelets your tarp has – you don’t want to lug around more poles than you need based on your number of eyelets.
Tarp Stakes
Stakes are a crucial element of your tarp-camping endeavor. You will need plenty of stakes, which can prove to be a challenge if you are camping in an area without access to natural stakes (ie, trees). You can find stakes for all kinds of ground, whether it be snow- or ice- covered, sandy, rocky, or clay. You can make your own, or invest in small aluminum or metal stakes.
Paracord
When it comes to assembling a tarp shelter, you can never have too much paracord. Opt for cord with reflective tape so that you will be able to see it in the dark. Try to bring with you at least 100 foot of cord per tarp, so that you have plenty to use in a pinch.
Sleeping Bag and Bivy Sack
A good sleeping bag is imperative for any kind of camping, but particularly if you plan on sleeping under a tarp. A tarp will offer a little less protection than a regular tent, allowing you to explore the wilderness more intimately, but you’ll want a toastier sleeping bag to compensate for the heat loss. Consider the climatic and weather conditions where you will be camping, and plan accordingly.
It’s also not a bad idea to bring an additional tarp or a ground sheet to protect you from the elements, too. If you are worried about the temperature rating of your sleeping bag, you can also tote a bivy sack. Bivy sacks, short for bivouac sacks, are designed for serious backpackers, particularly those who are going to be adventuring in a colder climate. They are made out of two tiers of fabric and offer great waterproofing and protection from the elements. Don’t get your bivy sacks confused with bivy shelters, which are actually low-rise tents with built-in sleeping areas.
Bug Net
Bugs are the scourge of tarp camping, turning even the most adventurous camper away from this exciting new prospect. Luckily, there are some easy solutions to your annoying bug problem.
If you are tarp camping, you can use a bivy to keep the bugs way. You can simply drape netting over your head, or invest in a bug net tent. There are quite a few manufacturers, like Sea to Summit and REI, and they are essentially mesh tents. Check out this bug net from Paria Outdoors which pairs extremely well with a tarp…
Where To Go Tarp Camping (And Where Not To Go)
While you need to put a bit more thought into where you go tarp camping (and where you don’t go tarp camping), you can generally do this in any setting where you would traditionally go tent camping. Under no circumstances should you go tarp camping in an area that tends to collect water. While it’s not uncommon for tent floors to leak, too, camping under a tarp requires you to put more thought into your site selection.
Tarp camping is ideal in settings that are dry, calm, and relatively bug-free. If you are a first-time tarp camper, consider trying it out in a Mountain State or the Desert Southwest, where you will have to worry less about rain and black flies. That being said, you could use a tarp in the east as well, where temperatures are relatively consistent between day and night.
Sick of being cooped up in a claustrophobic tent, unable to enjoy the night stars? Tarp camping is a great way to enjoy the wilderness without having to lug around a ton of equipment. Whether you’re on a budget or just a minimalist by choice, sleeping in the woods is made a million times better by tossing the tent and choosing the tarp.


